Residential and Commercial Painting Services in Philadelphia
How to Prepare Your Home for Painting Before You Paint: The Complete Home Preparation Checklist
Are you ready to give your home a fresh new look with a coat of paint? Painting is a fantastic way to transform the appearance of your living spaces and breathe new life into your home. Whether you’re planning to tackle the project yourself or hire professionals like Chpainters, proper preparation is key to achieving a flawless and long-lasting finish. In this ultimate guide, we’ll take you through the essential steps to prepare your home for painting like a pro.
1. Clear the area
Before you begin any painting project, start by clearing the area around the walls and surfaces you plan to paint. Move furniture, decor, and any valuable items away from the walls to prevent accidental splatters and ensure an obstruction-free workspace. If moving large furniture is not feasible, cover them securely with drop cloths or plastic sheets to protect them from paint drips.
2. Remove wall hangings and fixtures
Take down wall hangings, mirrors, light fixtures, and other decorative items from the walls. This will not only prevent accidental paint splatters on these items but also allow you to paint the walls evenly without obstructions.
3. Repair damaged surfaces
Examine the walls and surfaces for any cracks, holes, or imperfections. Use spackling paste or putty to fill in any holes or dents, and sand the surface smooth once the paste is dry. Repairing damaged surfaces will ensure a smooth and even paint application.
4. Clean the walls
Dust, dirt, and grease can affect the paint adhesion. Clean the walls thoroughly using a mild detergent and water solution. For stubborn stains, use a mixture of water and vinegar. Rinse the walls with clean water and allow them to dry completely before proceeding with the painting.
5. Protect floors and trim
Cover the floors with drop cloths or plastic sheets to protect them from paint spills and drips. Use painter’s tape to cover baseboards, trim, and edges of door frames and windows. This will create clean and sharp lines, preventing paint from bleeding onto adjacent surfaces.
6. Choose the right paint and tools
Selecting the right paint and tools is crucial for a successful painting project. Consider factors such as the type of paint suitable for the surface (latex or oil-based), the color, and the finish (matte, satin, or gloss). Invest in high-quality brushes, rollers, and painter’s tape to achieve professional-looking results.
7. Mix paint cans
If you’re using more than one can of paint for the project, mix them together in a larger container to ensure color consistency throughout the room. Paint colors can vary slightly between cans, and blending them will prevent noticeable differences on the walls.
8. Test paint colors
Before applying paint to the entire room, it’s a good idea to test the chosen paint color on a small section of the wall. This will give you a chance to see how the color looks in different lighting conditions and ensures you’re happy with the final choice.
9. Use a primer
Using a primer is essential, especially if you’re painting over a dark or heavily stained surface. Primer creates a smooth and uniform surface for the paint to adhere to, resulting in a more durable and even finish.
10. Paint in the right order
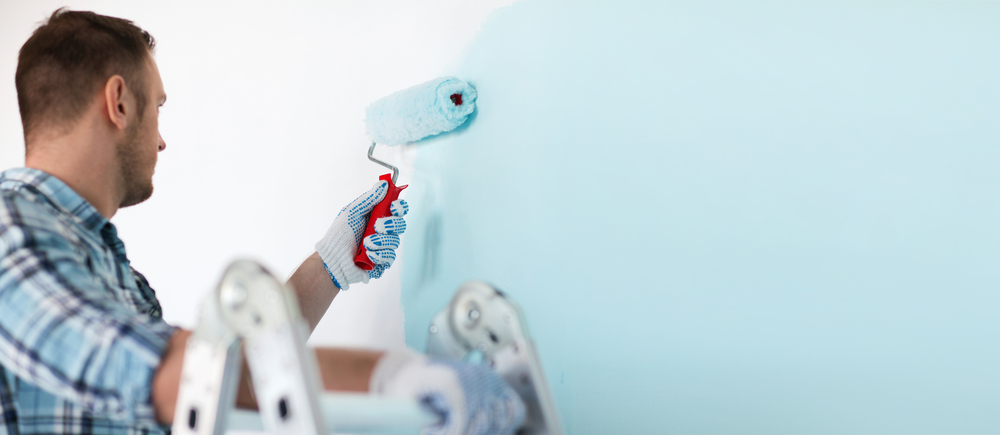
Start by cutting in the edges of the walls with a brush before using a roller to cover the larger areas. Paint from top to bottom, working in sections and maintaining a wet edge to prevent visible lines between areas.
The Consequences of Skipping Proper Home Preparation
Neglecting to prepare your home properly before embarking on a painting project can lead to a host of issues that can quickly turn your dream of a beautifully painted space into a nightmare. Let’s take a closer look at the potential troubles you may face if you skip the essential preparation steps:
1. Uneven and unsightly Results
Skipping surface repair, cleaning, and priming can result in uneven paint application and visible imperfections on the walls. Stains, cracks, and holes left unaddressed will show through the paint, diminishing the overall appearance of the room.
2. Peeling and chipping paint
A lack of proper preparation can cause the paint to peel or chip prematurely. Without a clean and smooth surface for the paint to adhere to, it may not bond correctly, leading to paint failure over time.
3. Paint splatters and stains
Failing to protect furniture, floors, and other belongings can result in accidental paint splatters and stains. Removing paint from carpets, hardwood floors, or cherished furniture can be a time-consuming and costly endeavor.
4. Bleeding and blurred lines
Neglecting to use painter’s tape to protect edges and trim can lead to paint bleeding onto adjacent surfaces. This can create blurred lines and messy edges, making the final result look unprofessional.
5. Color discrepancies
If you don’t mix paint cans or test the color beforehand, you may end up with noticeable color discrepancies on the walls. This can be particularly evident if you need to open a new can of paint midway through the project.
6. Wasted time and resources
Painting a room without proper preparation can result in wasted time, effort, and resources. If the outcome isn’t satisfactory, you may need to spend even more time and money to correct the issues or hire a professional to redo the work.
7. Reduced longevity
A poorly prepared surface can compromise the longevity of your paint job. Without proper priming and adhesion, the paint may not stand up to daily wear and tear, leading to frequent touch-ups or repainting.
8. Frustration and stress
Dealing with the consequences of improper preparation can be frustrating and stressful. It may lead to a feeling of disappointment with the final results and discourage you from tackling future painting projects.
9. Potential health hazards
Neglecting to clean walls and surfaces properly can lead to the release of dust, allergens, or other particles during the painting process. This can be a health concern, especially for individuals with respiratory issues or allergies.
Leave It to the Professionals
While DIY painting can be a fun and rewarding project, enlisting the services of professional painters like Chpainters comes with added benefits. Professional painters have the expertise, experience, and tools to deliver flawless results in a fraction of the time. From preparing your home for painting to the post-painting cleanup, professionals ensure a seamless and stress-free process.
Don’t hesitate to contact Chpainters for all your painting needs. With our professional yet affordable services, you can trust us to beautify your home and create the perfect ambiance you desire through expert interior painting. Say goodbye to the hassles of DIY painting and let the professionals work their magic!