
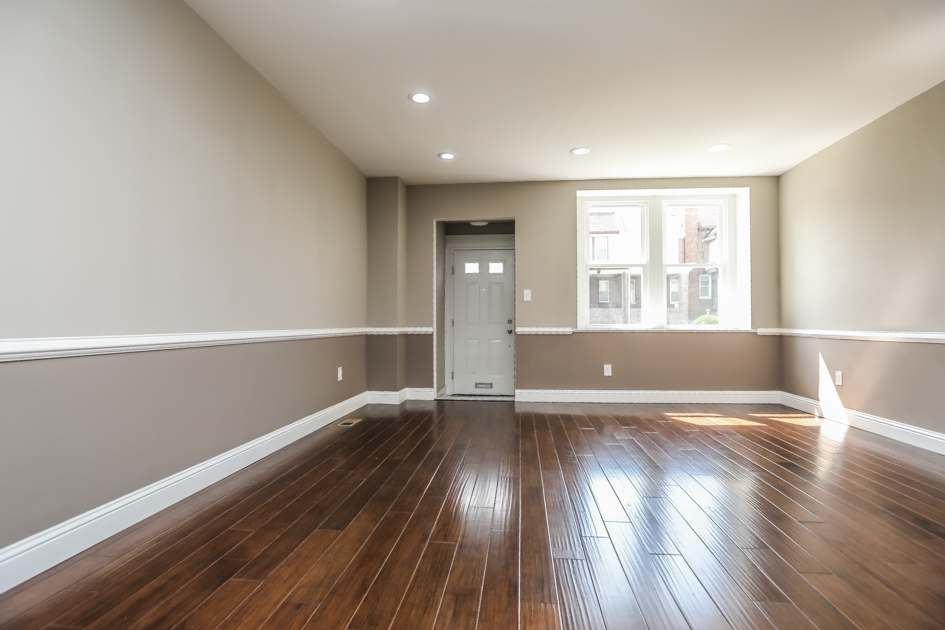
The Ultimate Guide to Painting a Room
Are you ready to transform the look and feel of a room in your home with a fresh coat of paint? Painting a room can be a fun and rewarding DIY project that allows you to unleash your creativity and give your living space a personal touch. Whether you’re a seasoned painter or a complete novice, this ultimate guide will provide you with all the tips and tricks you need to achieve a professional-looking paint job.
Step 1: Plan and Prepare
Before diving into the painting process, proper planning and preparation are key to ensuring a successful outcome. Here’s what you need to do:
1. Choose the Right Color
Selecting the perfect paint color is the first step to transforming a room. Consider the mood and ambiance you want to create. Lighter colors can make a room feel more spacious, while bold colors add a sense of drama and character.
2. Gather your supplies
Make sure you have all the necessary supplies before you begin. This includes paint, primer, painter’s tape, drop cloths, brushes, rollers, and a paint tray.
3. Clear the room
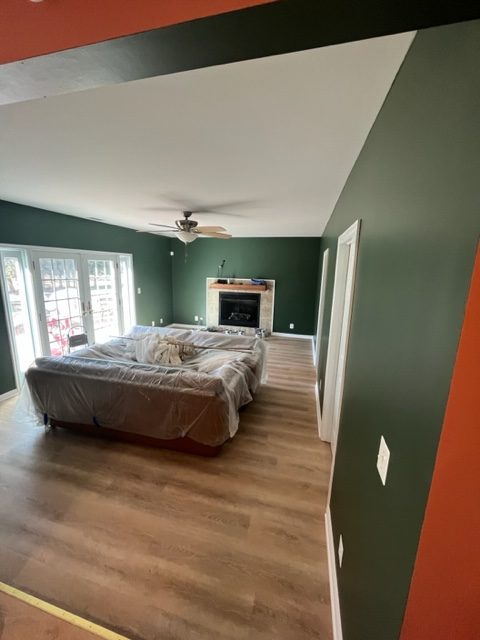
Remove furniture and decor from the room or move them to the center and cover them with drop cloths to protect from paint splatters.
4. Clean and repair
Thoroughly clean the walls to remove any dust, dirt, or grease. Check for any cracks or holes and patch them up with spackling paste. Sand the patched areas until they are smooth.
5. Tape and protect
Use painter’s tape to mask off areas you don’t want to paint, such as baseboards, window trim, and outlets. This will help you achieve clean and crisp lines.
Step 2: Prime the Walls
Priming is an essential step that ensures the paint adheres properly and provides a uniform surface. Apply a coat of primer to the walls and let it dry completely before moving on to the next step.
Why Prime the Walls?
- Better Adhesion: Priming creates a smooth and porous surface for the paint to adhere to. It helps the paint bond securely to the walls, reducing the risk of peeling, flaking, or chipping over time. Without a primer, the paint might not stick as well, leading to unsightly imperfections and requiring more frequent touch-ups.
- Uniform Color: Applying primer evens out the surface, helping to eliminate color variations caused by the original wall color or patchy areas where repairs have been made. This is especially important when transitioning from dark to light colors or when dealing with stains or water damage.
- Sealing Stains and Imperfections: Primer is an effective solution for sealing stains caused by water damage, smoke, or other contaminants. It prevents these stains from bleeding through the paint and marring the finish.
- Save Time and Money: While it may seem like an extra step, priming can actually save you time and money in the long run. A properly primed surface requires fewer coats of paint to achieve full coverage, which means less paint is needed, and the job is completed more efficiently.
Types of Primers
There are different types of primers available, and the right one for your project depends on the condition of your walls and the type of paint you plan to use. Here are some common types of primers:
- Water-Based Primers: These are easy to clean up with water and are suitable for most interior surfaces. They are low in volatile organic compounds (VOCs), making them a more environmentally friendly option.
- Oil-Based Primers: Oil-based primers offer excellent adhesion and are ideal for covering stubborn stains and wood surfaces. However, they do have a strong odor and require paint thinner for cleanup.
- Shellac-Based Primers: Shellac primers are excellent for blocking stubborn stains, such as water and smoke damage, as well as odors. They dry quickly and can be used under both oil-based and latex paints.
How to Apply Primer
Before applying the primer, make sure the walls are clean and dry. Patch any holes or imperfections, and sand down any rough spots to create a smooth surface. Here’s how to apply the primer:
- Cut In: Use a brush to “cut in” the edges around the ceiling, corners, and trim. This will create clean lines and prevent the primer from overlapping onto areas you don’t want to paint.
- Roller Application: Using a roller, apply the primer to the walls in smooth, even strokes. Work in small sections to maintain a wet edge and avoid visible lines.
- Second Coat (If Needed): Depending on the condition of your walls and the type of primer used, a second coat may be necessary to achieve full coverage and ensure an even surface.
Step 3: Paint the Room
Now comes the fun part – painting the room! Follow these tips for a smooth and efficient painting process:
1. Start with the Ceiling
Begin by painting the ceiling first. Use a roller with an extension pole to cover large areas quickly and evenly.
2. Cut in the Edges
Use a brush to “cut in” the edges around the ceiling, corners, and trim. This will create clean lines and make it easier to use the roller on the larger surfaces.
3. Use the “W” Technique
When using a roller, use the “W” technique – roll the paint in a “W” pattern, then fill it in with vertical strokes. This will help distribute the paint evenly and avoid visible lines.
4. Work in Sections
Divide the walls into manageable sections and work on one section at a time. This will prevent the paint from drying too quickly and allow you to maintain a wet edge for a seamless finish.
5. Double Coat for Perfection
For most colors, two coats of paint are recommended to achieve full coverage and a vibrant finish. Allow the first coat to dry completely before applying the second.
Step 4: Finishing Touches
Once the walls are dry, remove the painter’s tape carefully. Inspect the room for any touch-ups or areas that may need additional paint.
The Importance of Professional Interior Painters
While painting a room can be a rewarding DIY project, it’s also a time-consuming and physically demanding task. Hiring professional interior painters like Chpainters can save you time and ensure a flawless finish. Experienced painters have the skills, tools, and expertise to tackle any painting project efficiently and with precision, leaving you with a beautifully painted room that enhances the overall aesthetics of your home.
Conclusion
Painting a room is an excellent way to breathe new life into your living space and express your personal style. By following the steps in this ultimate guide, you can achieve a professional-looking paint job that will leave your room looking fresh and inviting. Remember, proper planning, preparation, and choosing the right colors are essential to a successful painting project. If you prefer to leave the task to the experts, don’t hesitate to reach out to Chpainters for top-notch interior painting services. Let the professionals handle the brushwork, so you can sit back, relax, and enjoy the transformation of your home.